Fairytale Craft Idea: Stunning Fairy Tale Glass Bowl
If you love fairy tales and creative projects, making a fairy tale glass bowl is a fun idea you’ll enjoy. It’s a small, magical world you can build using a glass bowl, tiny plants, and little decorations like miniature fairy doors or mushroom houses. This craft lets you bring a bit of fairy-tale charm right into your home.
This post may contain affiliate links, which means I’ll receive a commission if you purchase through my link, at no extra cost to you. Please read full disclosure here.


You don’t need a lot of space or materials, and it’s perfect for all ages. Whether you’re into gardening with succulents or just want a cute decoration, this project gives you a simple way to create something beautiful and unique. Plus, it’s great for relaxing and sparking your imagination.
With just a few supplies, you can make a tiny, enchanted garden that feels like your own secret forest. It’s a cool way to add some greenery and magic to your room or even gift it to someone special.
Creating Your Fairytale Glass Bowl


To make a stunning fairy tale glass bowl, you need to pick the right container, decide on a theme, gather the necessary materials, and follow simple steps to decorate it. Every step adds to the magic and brings your tiny wonderland to life.
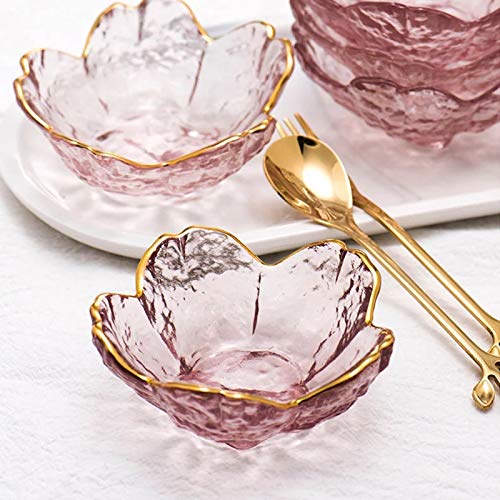
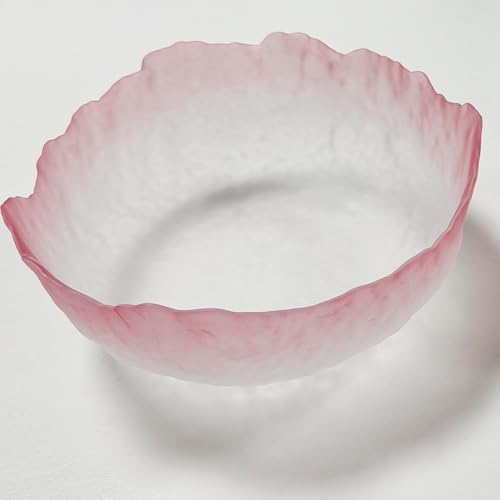
Choosing the Perfect Glass Bowl
Start by picking a glass bowl that fits your space and vision. Clear glass works best so you can see all the details inside.
Size matters. If you want a lot of tiny decorations or plants, go for a larger bowl, about 8–12 inches wide. For smaller spaces or a simpler look, a bowl around 5–7 inches works fine.
Shape plays a role too. Wide, open bowls let you place items easily, while taller ones create a layered, more mysterious look. Avoid bowls with thick or colored glass, as they hide your fairy world.

Selecting Fairytale Themes
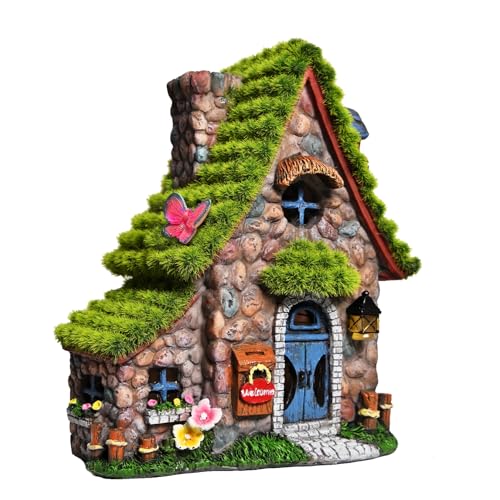
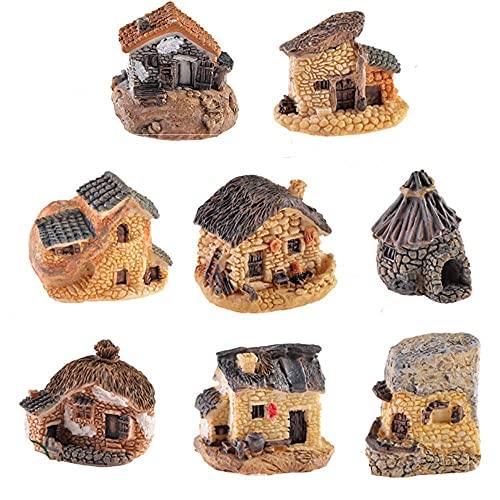
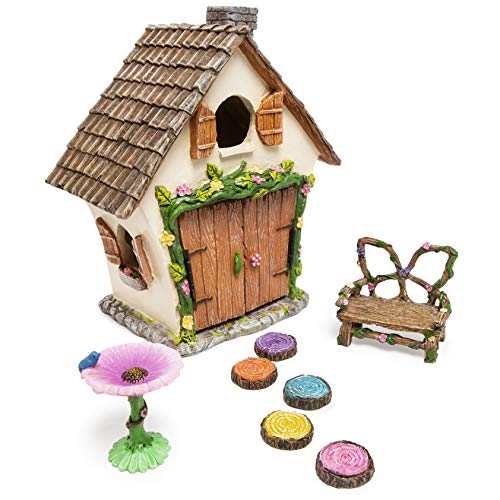
Choose a theme that excites you. It could be a forest, a castle, a garden, or a magical village.
Think about what each theme means to you. For example:
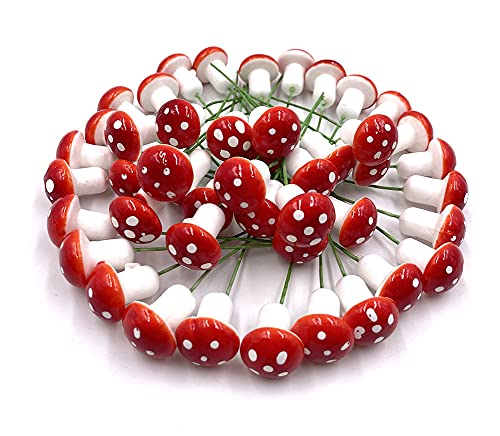
- Forest: Add mini trees, moss, and mushrooms.
- Castle: Use tiny towers, gates, and stones.
- Garden: Include small flowers, butterflies, and benches.
You can mix themes, like a castle in the forest or a garden by a stream.
Decide if you want a daytime or nighttime setting. You might add tiny lights to create a magical glow.
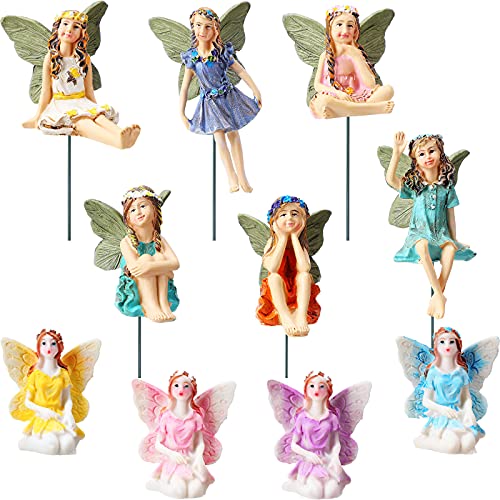
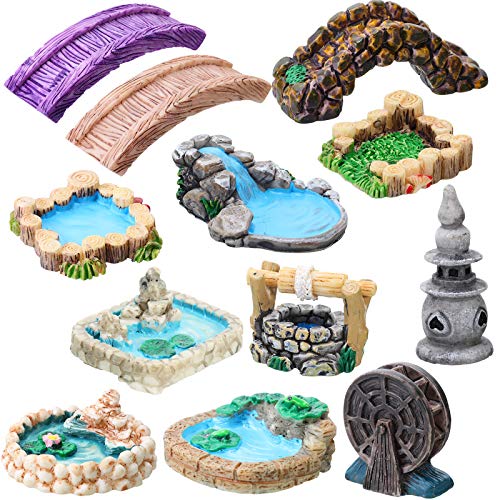
Essential Materials and Tools
You need a few basics to get started:
- Glass bowl
- Miniature figures like fairies or animals
- Small plants or moss (real or fake)
- Decorative stones, pebbles, or sand
- Craft glue or hot glue gun
- Tiny fairy lights (optional)
- Tweezers or small tongs for placing objects
If you want a natural look, use dried moss and succulents. For a lasting display, choose artificial plants.
Don’t forget scissors, paint, or markers if you want to add color or details to your decorations.


Step-by-Step Decorating Guide
Start by cleaning your glass bowl well to make sure everything sticks nicely.
- Layer the base: Add stones or sand first for drainage and a stable ground.
- Place moss or plants next. Arrange them to cover the base but leave space for decorations.
- Add your main pieces, like fairy houses or figures. Use glue if needed to keep them steady.
- Fill gaps with smaller stones, moss, or tiny craft items to make it look full and natural.
- Add final touches, like twinkling lights or glitter to bring your fairy tale to life.
Take your time positioning items. Use tweezers for small pieces so you don’t disturb other parts.
When finished, place your glass bowl somewhere safe but visible where its charm can shine.
Personalizing and Displaying Your Masterpiece


To make your fairy tale glass bowl truly yours, you’ll want to add details that reflect your style and story. Plus, finding the right spot to show it off enhances its charm. Keeping it looking great over time is easier with a few simple habits.
Adding Magical Finishing Touches
Start by adding small designs to the bowl’s surface. Use glass paint pens to create fairy tale motifs like stars, flowers, or little castles. These details highlight the theme and bring a magical feel.
You can also glue tiny decorative items like beads, sequins, or small charms around the rim. Use clear-drying glue to avoid messy spots.
If you want a textured look, try attaching thin ribbons or threads to the base or edges. Choose colors that match your story theme, like soft pastels for a princess or bold reds and blacks for a pirate tale.


Creative Display Ideas
Place your glass bowl where it gets plenty of natural light. A windowsill or a shelf near a lamp will make the colors shine.
Try arranging your bowl with other fairy tale items like small figurines, storybooks, or LED fairy lights. You can use a mirror underneath to reflect the designs and add depth.
For a themed room, create a tiny fairy garden around the bowl with moss, miniature plants, or pebbles. This turns the bowl into a part of a larger magical scene.
Tips for Long-Lasting Beauty
Avoid putting your glass bowl in direct sunlight for too long to prevent fading of paints or glue weakening.
Clean it gently with a soft cloth and mild soap. Avoid harsh scrubbers or strong chemicals that can damage decorations.
Store it in a safe place if you’re not displaying it. Wrap it in soft tissue paper or a cloth bag to protect it from dust and scratches.


